
DIY Gift Box Tutorial: Create Personalized Presents
Create Your Own Combo – Pick 4 Canisters & Save 10%
Get FREE Shipping on all prepaid orders above ₹499/-!
Create Your Own Combo – Pick 4 Canisters & Save 10%
Get FREE Shipping on all prepaid orders above ₹499/-!
Create Your Own Combo – Pick 4 Canisters & Save 10%
Get FREE Shipping on all prepaid orders above ₹499/-!
Create Your Own Combo – Pick 4 Canisters & Save 10%
Get FREE Shipping on all prepaid orders above ₹499/-!
Create Your Own Combo – Pick 4 Canisters & Save 10%
Get FREE Shipping on all prepaid orders above ₹499/-!
Create Your Own Combo – Pick 4 Canisters & Save 10%
Get FREE Shipping on all prepaid orders above ₹499/-!
Create Your Own Combo – Pick 4 Canisters & Save 10%
Get FREE Shipping on all prepaid orders above ₹499/-!
Create Your Own Combo – Pick 4 Canisters & Save 10%
Get FREE Shipping on all prepaid orders above ₹499/-!
Create Your Own Combo – Pick 4 Canisters & Save 10%
Get FREE Shipping on all prepaid orders above ₹499/-!
Create Your Own Combo – Pick 4 Canisters & Save 10%
Get FREE Shipping on all prepaid orders above ₹499/-!
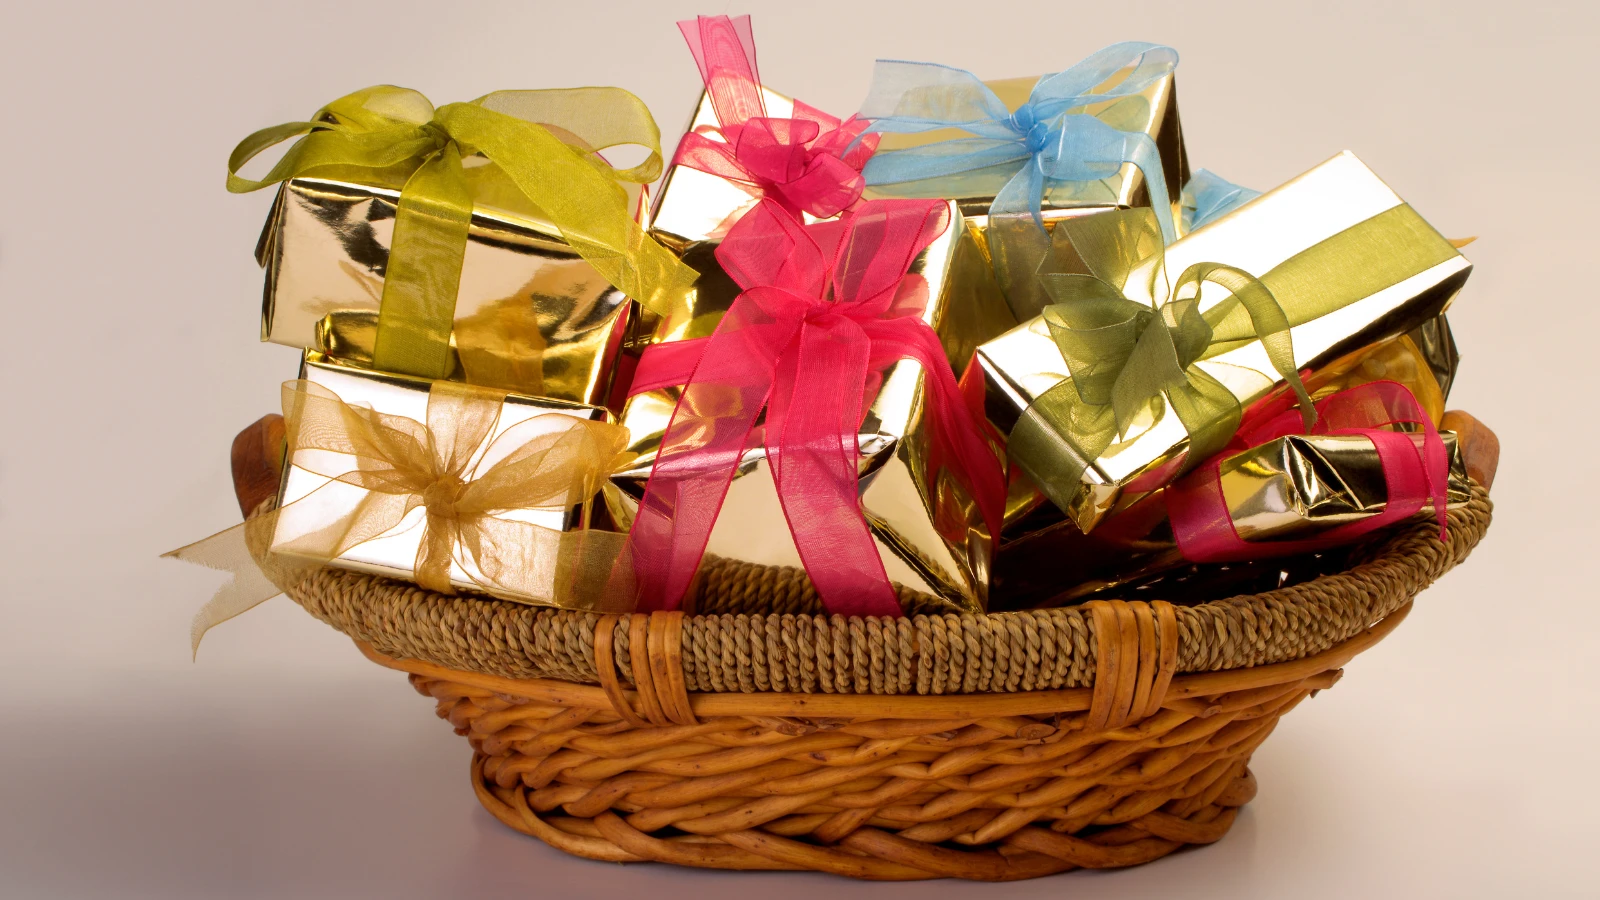
Gift-giving becomes truly special when you put your heart into creating something unique. Custom gift boxes let you show someone you care in the most personal way possible. They turn ordinary presents into memorable gift ideas that recipients will treasure long after the occasion has passed.
Creating your own gift box isn't just about wrapping a present. It's about crafting an experience that starts the moment someone receives your thoughtful package. Whether you're preparing special occasion presents for birthdays, weddings, or festivals, handmade boxes add a touch of love that store-bought options simply can't match.
Every great gift box starts with the right materials. You'll need sturdy cardboard or decorative paper as your base. Choose materials that can support the weight of your gifts without bending or tearing. Craft glue or double-sided tape will hold everything together securely.
Don't forget measuring tools like rulers and pencils for precise cuts. A bone folder helps create clean, professional-looking creases. These basic supplies form the foundation of your custom gift boxes.
This is where your creativity shines! Ribbons, lace, and fabric scraps can transform plain boxes into luxury gift packaging. Decorative papers, stickers, and stamps let you add personal touches that reflect the recipient's personality.
Consider adding elements like dried flowers, small charms, or vintage buttons. These details turn your creation into true keepsake boxes that people will want to keep forever.
Sharp scissors or a craft knife ensure clean cuts every time. A cutting mat protects your work surface and gives you straight guidelines. A metal ruler helps you score fold lines perfectly.
Keep a glue stick and liquid craft glue handy for different applications. Small brushes help apply adhesive evenly without creating messy spots that show through delicate papers.
Traditional square or rectangular boxes work well for most gifts. They're easy to make and provide plenty of space for creativity. These timeless shapes never go out of style and suit any occasion.
Classic boxes also stack neatly if you're creating multiple gifts. Their simple structure makes them perfect for beginners who want to focus on decoration rather than complex construction techniques.
Elevate your gifts with sophisticated touches like magnetic closures or ribbon pulls. Use high-quality materials like textured cardstock or metallic papers. These elements create an upscale feel that matches premium store-bought packaging.
Consider adding foam inserts or tissue paper lining to protect delicate items. These professional touches show recipients that you've put extra thought into every detail of their surprise package.
Some gifts deserve containers that become treasures themselves. Wedding favors, baby shower memories, or anniversary presents call for extra-special treatment. Use archival-quality materials that won't yellow or deteriorate over time.
Think about how the recipient might reuse the box. Add features like photo slots, small compartments, or removable dividers that extend the box's usefulness beyond its original purpose.
Clear a large, flat surface where you can spread out all your materials. Good lighting prevents eye strain and helps you see details clearly. Cover your work area with newspaper or a craft mat to protect it from glue and paint.
Organize your supplies within easy reach. This preparation saves time and keeps your creative flow uninterrupted as you work on your personalized presents.
Accurate measurements make the difference between amateur and professional results. Start by deciding your box's final size, then add extra material for flaps and overlaps. Mark all cutting lines lightly with pencil before making any cuts.
Cut slowly and steadily for smooth edges. Remember the old saying: measure twice, cut once. Taking time here prevents frustrating mistakes later in the process.
Score all fold lines before bending to create sharp, clean creases. Apply glue sparingly – too much creates messy seepage that shows through paper. Work systematically, completing one side before moving to the next.
Hold each joint firmly until the adhesive sets. This patience ensures your box stays together under the weight of its contents and handling during transport.
A well-fitted lid transforms your creation from a simple container into proper luxury gift packaging. Make the lid slightly larger than the base so it fits snugly without being tight. Test the fit frequently as you work.
Consider different closure styles like overlapping flaps, magnetic catches, or decorative ties. Each option creates a different opening experience for the recipient.
Professional techniques like mitered corners and hidden seams elevate your finished product. Practice these skills on scrap materials before working on your final box. Clean edges and smooth surfaces make all the difference.
Pay attention to how store-bought boxes are constructed. These examples provide valuable insights into achieving that polished, commercial look in your handmade creations.
Personal touches transform ordinary boxes into extraordinary keepsake boxes. Hand-lettering the recipient's name or a special message adds intimacy that printed labels can't match. Use calligraphy pens or fine-tip markers for best results.
Consider the recipient's favorite colors, hobbies, or interests when choosing decorative elements. A nature lover might appreciate pressed flowers, while a music enthusiast could love vintage sheet music as wrapping paper.
Match your box design to the celebration at hand. Wedding gifts call for elegant whites and golds, while birthday surprise packages can be bright and playful. Holiday boxes might incorporate seasonal colors and symbols.
Think beyond just colors – textures and materials can reinforce your theme. Burlap and twine suggest rustic charm, while satin ribbons evoke formal elegance.
The most treasured gifts include elements that speak directly to the recipient. Photo collages, inside jokes written in beautiful script, or small mementos from shared experiences make gifts truly unforgettable.
Consider adding a handwritten note explaining the significance of your design choices. This storytelling element transforms your gift into a keepsake that tells a story about your relationship.
Thoughtful curated gift sets show you understand what brings joy to someone's life. Group related items that work together – perhaps artisanal teas with a beautiful mug and honey, or luxurious bath products with soft towels.
For those who value spiritual wellness, consider including items like Sambrani Cups for air purification and peaceful environments. These natural products create meaningful connections between physical gifts and emotional well-being.
The way you arrange items inside your box creates the recipient's first impression. Place larger items in back and smaller ones in front for visual depth. Use tissue paper or fabric to create layers that build anticipation as items are discovered.
Consider the unboxing experience – how will items be revealed as the recipient explores? This theatrical element turns gift-opening into a memorable event rather than a simple transaction.
Small details create big impacts in personalized presents. Scatter rose petals, include a small sachet of dried lavender, or add a tiny ornament that reflects shared memories. These unexpected elements delight and surprise.
Don't forget practical touches like padding to prevent movement during transport. Beautiful presentation means nothing if items arrive damaged or disheveled.
Professional results come from attention to detail. Use a bone folder to create sharp, consistent creases. Take time to align edges perfectly before gluing – small misalignments become obvious in the finished product.
When cutting multiple pieces, use templates to ensure consistency. This approach is especially important when making several boxes for events like weddings or corporate gifts.
Color harmony makes the difference between amateur and professional-looking results. Stick to a limited palette of 2-3 colors maximum. Use the 60-30-10 rule: one dominant color, one secondary color, and one accent color for highlights.
Consider how colors work together under different lighting conditions. What looks perfect in your craft room might appear different in the recipient's home environment.
Wrinkled paper can often be smoothed with a warm iron on low heat. Uneven glue lines show less when using glue sticks rather than liquid adhesive. If corners don't meet perfectly, small decorative elements can disguise the gaps.
Keep extra materials on hand for repairs and adjustments. Sometimes starting over with a small section creates better results than trying to fix a significant mistake.
Wedding heirloom gift containers deserve extra elegance and permanence. Use archival-quality materials that won't fade or deteriorate over time. Consider incorporating elements from the wedding theme or colors for cohesion.
Include items that support the couple's new life together. Products like Divine Wellness T-Light Candles create peaceful ambiance perfect for newlyweds establishing their home traditions.
Birthday boxes can be as fun and colorful as the celebration itself. Age-appropriate themes work well – sophisticated designs for milestone birthdays, playful elements for children's parties. Consider the person's current interests and hobbies.
Layer surprises throughout the box so the birthday person discovers new delights as they explore. This extended experience makes the gift-opening process more memorable than receiving everything at once.
Some gifts are meant to be passed down through generations. Heirloom gift containers require the highest quality materials and construction techniques. Think about how the box will look and function decades from now.
Consider adding elements that tell family stories – perhaps fabric from a meaningful garment or wood from a significant location. These materials create connections across generations.
Sustainable gift-giving reflects modern values while reducing environmental impact. Choose cardboard and papers that can be recycled after use. Avoid plastic elements that might end up in landfills.
Natural decorative elements like dried flowers, seeds, or leaves can be composted after the gift is opened. This approach aligns with the eco-conscious values that many gift recipients share today.
Transform everyday items into elegant gift wrapping components. Old maps become unique wrapping paper for travel enthusiasts. Vintage book pages work beautifully for literary gift themes. These choices add character while reducing waste.
Consider how materials' previous lives add meaning to your gift. A box decorated with pages from a favorite cookbook becomes extra special for someone who loves cooking.
Design boxes that recipients will want to keep and use long after the original gift is opened. Sturdy construction and timeless design ensure longevity. Think about practical uses like jewelry storage, keepsake collection, or organizational solutions.
Include care instructions so recipients know how to maintain their new treasure. This thoughtfulness extends the gift's impact far beyond the initial occasion.
Creating custom gift boxes transforms ordinary presents into extraordinary expressions of care and creativity. Every fold, decoration, and personal touch communicates your thoughtfulness in ways that store-bought options simply cannot match.
The time you invest in crafting personalized presents pays dividends in the joy and surprise they create. Recipients recognize the effort and love that goes into handmade gifts, making these presentations treasured keepsakes that outlast their contents.
Remember that perfection isn't the goal – connection is. Your handmade gift box carries your personal energy and intention, making it infinitely more valuable than any professionally manufactured container. Start with simple designs and gradually develop your skills as you discover the deep satisfaction that comes from creating something beautiful with your own hands.
The art of gift box creation opens doors to endless creative possibilities. Each project teaches new techniques while strengthening relationships through thoughtful expression. In our fast-paced digital world, these handmade gestures stand out as particularly meaningful acts of love and friendship.
What's the best cardboard thickness for making sturdy gift boxes?
Choose cardboard between 200-300 GSM for optimal strength without being too difficult to cut and fold. This thickness supports most gift weights while remaining workable for hand construction.
How do I prevent my decorative paper from wrinkling when gluing?
Apply adhesive in thin, even layers and smooth paper from the center outward to eliminate air bubbles. Work quickly but carefully, and consider using spray adhesive for large surfaces.
Can I make waterproof gift boxes for outdoor events?
Use waterproof cardstock or treat regular cardboard with clear acrylic sealer. Avoid water-based adhesives in favor of waterproof alternatives for joints and decorative elements.
What size should I make my gift box lid for proper fit?
Make the lid approximately 1-2mm larger than the base on all sides. This allows for easy opening while maintaining a snug fit that won't fall off during handling.
How far in advance can I make custom gift boxes?
Properly constructed boxes can be made weeks in advance. Store them in a dry place away from direct sunlight to prevent fading or moisture damage before use.
What's the most beginner-friendly box style to start with?
Simple rectangular boxes with separate lids offer the best learning experience. They use basic techniques while providing plenty of surface area for decoration practice.
How do I calculate materials needed for multiple identical boxes?
Measure one complete box template, then multiply by your quantity needed plus 10% extra for mistakes. Buy slightly more decorative materials than calculated to ensure color and pattern consistency.
Ready to start your own gift box adventure? We'd love to see your creative masterpieces! Share photos of your handmade surprise packages and personalized presents on social media – your unique designs might inspire others to discover the joy of handcrafted giving.
Looking for more creative inspiration? Explore our collection of tutorials and guides that help you master the art of thoughtful gift-giving. From seasonal decoration ideas to advanced construction techniques, we're here to support your creative journey every step of the way.
